How to Set Margins in Word
The In-Line With Text setting makes it behave like a character but any of the others will allow you to drag the graphic anywhere on the page. On the Margins tab individually set the top.

How To Change Page Margins In Microsoft Word 2010 Solve Your Tech Microsoft Word 2010 Microsoft Word Document Words
We would like to show you a description here but the site wont allow us.

. Microsoft Word 2003 and older versions have standard margins set at 1 inch on the left and right and 125 inches on the top and bottom. To set margins in Word first click the Layout tab in the Ribbon. Click on Auto-crop right above the page.
In PowerPoint 2013 and later versions the closest thing to a Page Layout command is available under the name Slide Size on the Design tab in the Customize group. Then click the Margins drop-down button in the Page Setup button group. Click the Margins button in the Page Layout tab.
Specify precise crop margins in inches. In the Apply to box click Selected text. The MLA requires that all manuscripts be written in the Times New Roman font at a 12-point pitch.
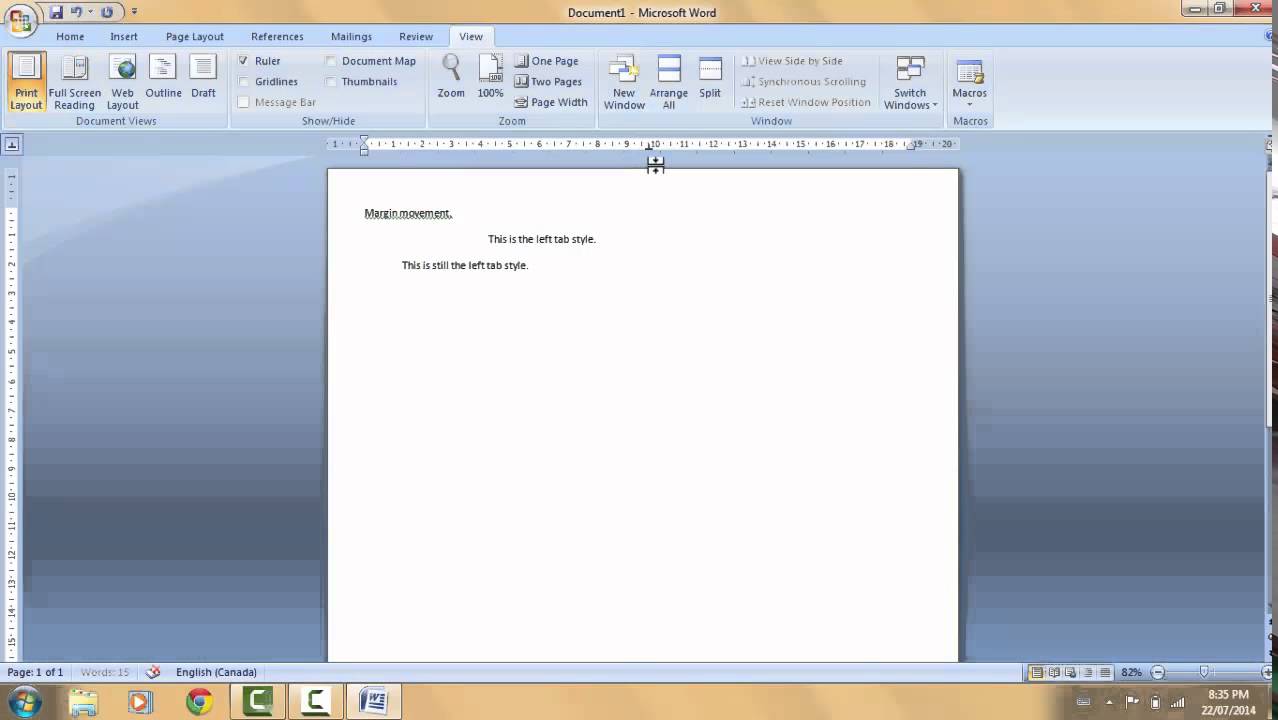
In such a case type a number in Gutter that will allow enough room for the binding and use the drop-down to indicate. Select Portrait under Orientation. You can use the Ruler to change these paragraph margins.
PAGE SETUP establishes the dimensions for your document such as MARGINS which controls the empty borders of the document. Adjust the margin values to match the following. You can change each of the four margins in the dialog box that appears.
When a page is justified the text is spread out to be flush with the left and right margins. When two pages of content are combined next to each other known as a two-page spread the space between the two pages is known. Tabs allow you to position text exactly where you would like it.
CLIP ART will allow you to browse from a set of images included in Microsoft Word and PICTURE will let you explore your computer for personal photos. Simply click on Normal to set 1-inch margins. Learn how to set custom margins in Microsoft WordIn this video tutorial we will show you how to set 1 inch margins in wordOpen the word document you want to.
If you wish to only have 1-inch margins on some sides of the document click on Custom Margins at the end of the selection menu. Take this document as an example. Then click the Margins tab within the Page Setup dialog box.
Follow these instructions to set up a book template. Go to Page Layout and select Margins Select Custom Margins Select Mirror Margins under Multiple Pages. Margins are the white space between the contents of the document and the edge of the page.
We can automatically determine what is the optimal crop size so all white margins are removed. Click the OK button to save these settings. To change margins click on the Margins button found on the Page Layout tab.
In other words if the tail of a y would extend past the set margin that line is pushed to the next page. In the Gutter box enter a width for the gutter margin. To set margins in Excel worksheets before printing click the Page Layout tab in the Ribbon.
Set the margins. Automatically trim PDF white margins. Only adjust the Gutter margin if you intend to use the document in a bound format like a book or report and you need space for the binding.
Any graphic in Word can have one of a set of text wrapping settings. If you do not like the Word settings you can set your own tabs. While Word for the web will honor a gutter margin set in Word for the Desktop it only supports changing the Top Bottom Left and Right margins.
Insert a picture outside margins WORD 2010. Type numbers indicating the width of your margins in the Top Bottom Left and Right fields. This buttons drop-down menu contains a Last Custom Setting option six preset margin choices and a.
Input the top left bottom and right margins above the PDF page. Exact dimensions can be specified for the cropped margins. The text will automatically readjust itself according to the new margins.
The Ruler in Microsoft Office 2013 Word defines the left and right margins for your text paragraphs. When creating a body of text in a Word document indenting the first line adds structure and is the most common way to signal the start of a new paragraph or topic. 5 Bottom 5 Inside.
Block paragraphs are the default in Word meaning that each line within a paragraph is aligned with the left margin and the paragraphs only visually separated by line spaces. Microsoft Word automatically inserts section breaks before and after the text that has the new margin settings. Video of the Day Step 2 Set the font.
The margin helps to define where a line of text begins and ends. Word lists a number of pre-formatted options but you can also make your own margins by selecting Custom Margins found at the bottom of the Margins list. To change the margins for part of a document select the text and then set the margins that you want by entering the new margins in the Page Setup dialog box.
A Page Setup dialogue box will come forth. In typography a margin is the area between the main content of a page and the page edges. The default tab settings for Microsoft Word are every half-inch.
When typesetting and printing we can adjust the margins according to the content layout. To change the size of the margins move the sliders located at the top of the document or set them through the Page Setup function. Then we can select some regular page margins in the selection list.
Then click the Page Setup dialog box button in the lower-right corner of the Page Setup button group. Select Whole Document. SIZE will allow you to specify how large a sheet.
Click the Margins tab then set the top bottom left and right margins each to 10 inch. Step by step instructions for setting tabs in Word 2013. There is no control in the dialog for adding or adjusting margins in the dialog but you can select from standard sizes.
To avoid problems with text alignment use tabs rather than spaces. 2 Word does not use the base line of text to determine the bottom margin but requires that the entire character fit above the set bottom margin. Choose Format from the main menu then Font from the drop-down menu.
If for instance you want to have a 2-. When you select Custom Slide Size from the menu the Slide Size dialog displays. Click Layout Margins Custom Margins.
You can right-click the icon and click Wrap Text then click one of the other values.

Setting Margins In Microsoft Word 2019 And 365 Words How To Apply Page Setup
Word 2010 Setting Margins And Paragraph Alignment Words Alignment Paragraph
How To Set Tabs And Margins Using The Ruler Bar In Word Words Tech Writing Ruler

Setting Margins In Microsoft Word 2019 And 365 Words How To Apply Page Setup


Comments
Post a Comment